Organizing and arranging content in a web app
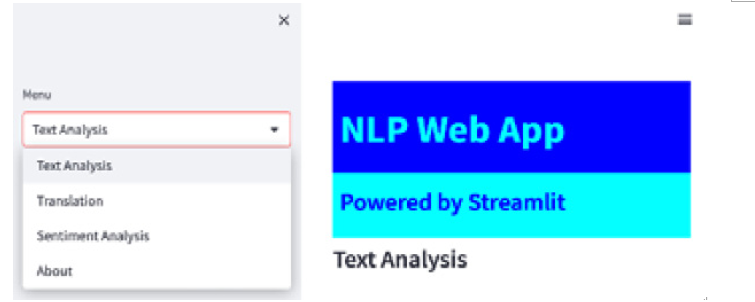
In Chapter 4, we built the foundations of our first web application and wrote some Python code that, once executed, gives us the following result:

Figure 5.1: Chapter 5 starting point
We completed the About section, made some decorations in terms of colors, and added an icon (the so-called favicon) and a title to the web browser page.
It’s time to complete the three remaining voices of the menu: Text Analysis, Translation, and Sentiment Analysis.
Adding decorations
Before completing the three voices of the menu, however, let’s add a nice decoration to the sidebar of our web app. So, once again, open the Sublime Text editor and restart coding.
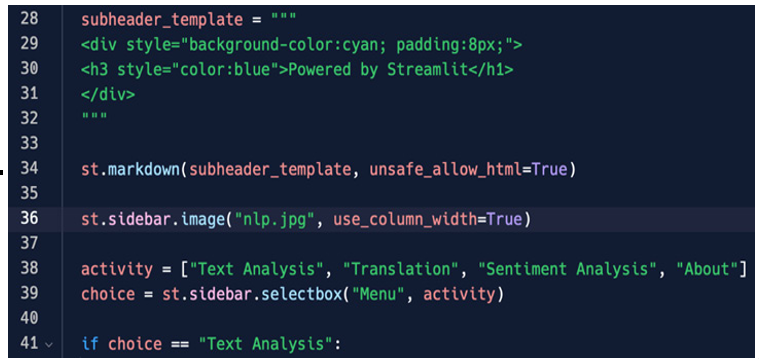
We need to add an image to the sidebar immediately after the second HTML of the title on lines 35-36 of our code. This is an easy coding task, and it is shown in the following figure:

Figure 5.2: st.sidebar.image
The process is extremely easy: we are adding to the sidebar (st.sidebar) an image. We just wrote NLP in Google and downloaded an image, saving it as nlp.jpg in the same folder as our Python script. Since we are setting the unsafe_allow_width argument to True, the width of our image will be exactly the same as that of all other elements in the sidebar. If you want, instead of unsafe_allow_width, you can use the width one in the following way:
width = 200
You can try with different widths (100, 300, etc.) and observe the different results.
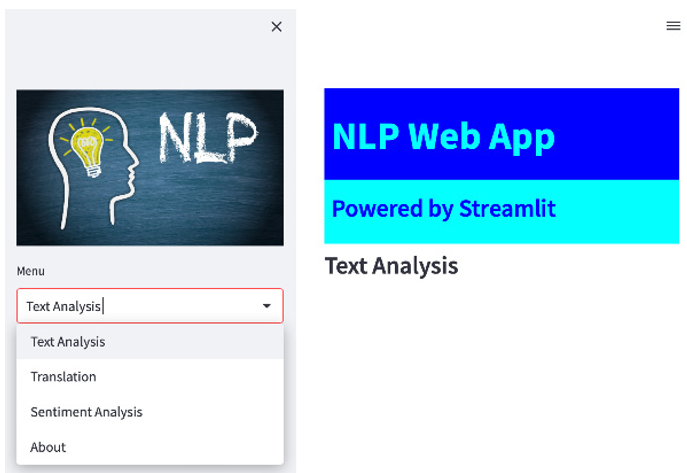
In Figure 5.3, we can see the result of the last decoration:

Figure 5.3: A picture in the sidebar
Our web application is starting to look appealing! Now we can move on to the text analysis part.
