Streamlit features and widgets
The very first step has been completed: Streamlit is up and running. What we need to do now is add text, widgets, elements, and more to make something beautiful that also works correctly.
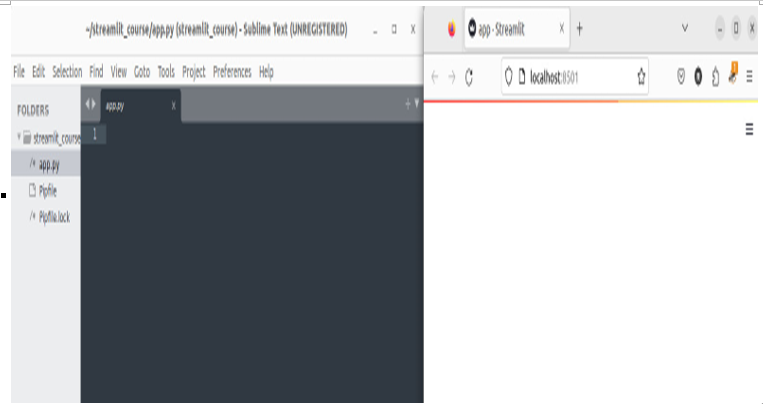
To start populating our web app with nice and useful widgets, we need to write some Python code. The best way to do this is to put Sublime Text and our browser side by side, as shown in the following screenshot:

Figure 3.6: Sublime Text and a browser side by side
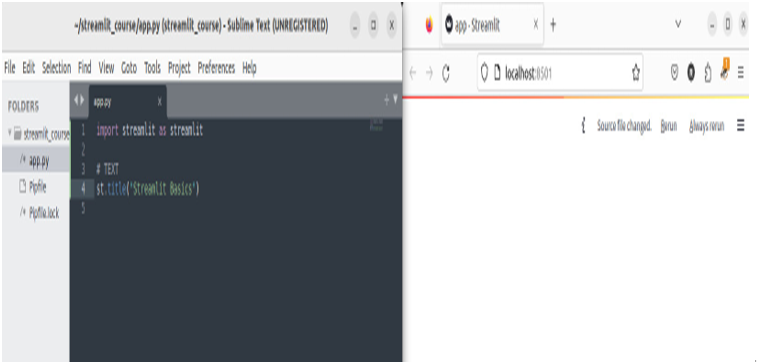
This kind of visualization is very convenient because we can immediately see any change we make to the code (in real time, as soon as we save our code changes), in our editor directly, in the browser by just selecting Always Rerun from the top-right menu of our web application:

Figure 3.7: Code changes and Always Rerun
So, let’s import Streamlit (with st as the alias) and start dealing with some text. We can write the following:
import streamlit as st
st.title(“Streamlit Basics”)
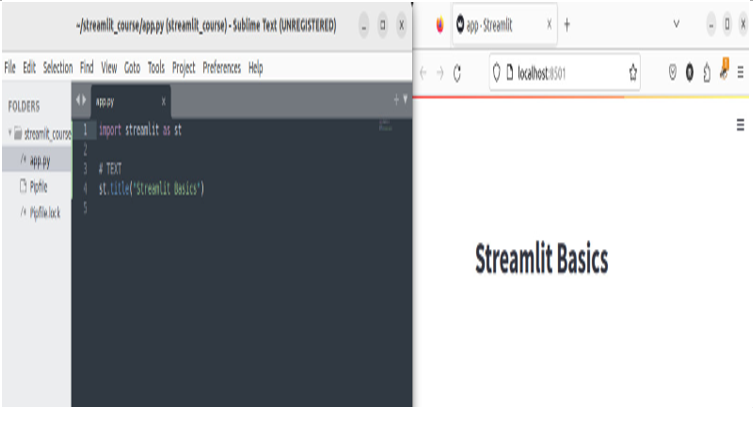
The result is shown in Figure 3.8:

Figure 3.8: Code changes and their effect on the web app
st.title gives back a long string of text. We can use many other text dimensions in Sublime Text. For example, we can write and save the following code:
st.header(“This is a header”)
st.subheader(“This is a subheader”)
st.text(“This is a simple text”)
st.write(“This is a write dimension”)
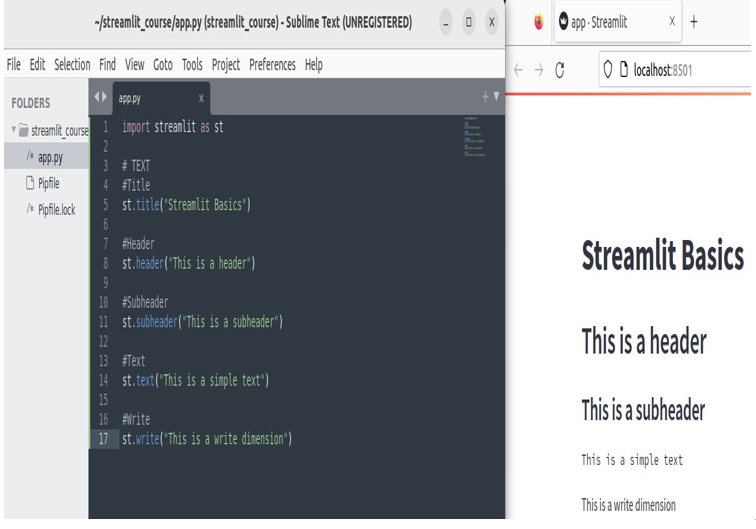
Since we’ve already selected Always Rerun, we’ll immediately see that our web app changes in the browser, introducing the header, subheader, text, and write text dimensions we wish to visualize:

Figure 3.9: Different text dimensions
Streamlit can even directly manage the markdown. This is quite simple since we just have to use markdown and pass the text inside the parenthesis. For example, we can write the following:
st.markdown(“[Streamlit](https://www.streamlit.io)”)
In this way, we write the word “Streamlit” on the screen as a hyperlink to the official Streamlit website. If we wish to put the link directly on the screen, to make the URL visible, we can write the following:
st.markdown(“https://www.streamlit.io”)
In Streamlit, we can use HTML in a very simple way – we just need to create a variable containing all our HTML code, then put it inside a markdown instruction together with the unsafe_allow_html argument set to True. Let’s take a look:
html_page = “””
<div style=”background-color:blue;padding:50px”>
<p style=”color:yellow;font-size:50px”>Enjoy Streamlit!</p>
</div>
“””
st.markdown(html_page, unsafe_allow_html=True)
This is the result we get:

Figure 3.10: Markdown and HTML
See what happens when you set unsafe_allow_html to False.
