Date, time, and more
Another very useful element that we can manage out of the box in Streamlit is date and time – that is, dates, hours, and so on.
For example, to print today’s date on the screen, we just have to write the following:
import datetime
today = st.date_input(“Today is”,datetime.datetime.now())
Here, the first line simply imports the datetime package while the second, using Streamlit’s date_input, asks the user to select a date. This date will be saved in the today variable:
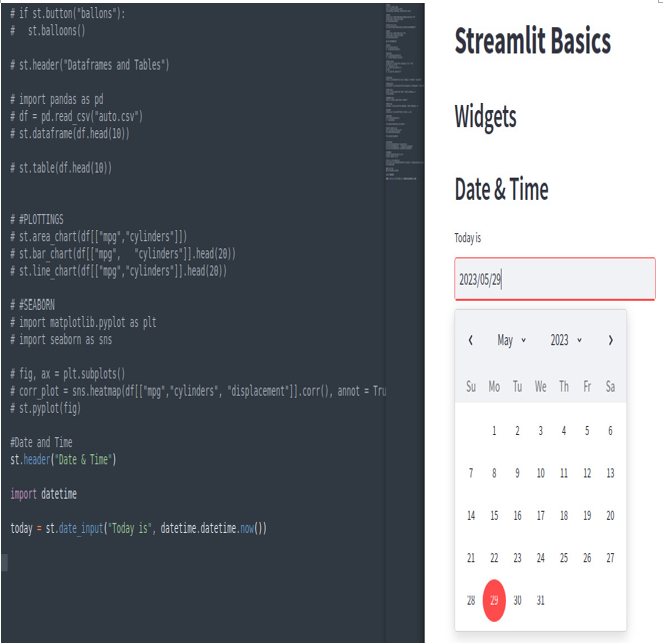
Figure 3.34: The st.date_input widget
Continuing with date and time, we can do the same with time, as follows:
import time
hour = st.time_input(“The time is”,datetime.time(12,30))
This time, we are importing time and using time_input, where we specify that the time is 12:30. On the screen, we can select any time we want:
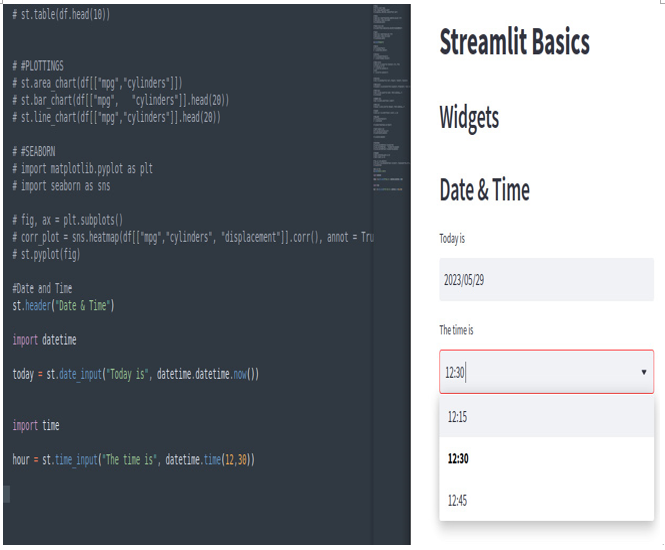
Figure 3.35: The st.time_input widget
Streamlit is powerful and easy to use, and we can even manage text in JSON or programming language formats such as Julia or Python.
Let’s type the following:
data = {“name”:”John”,”surname”:”Wick”}
st.json(data)
Here, we’ve created a variable called data that contains two key-value pairs that are displayed on the screen in JSON format using the st.json widget – easy and clean:
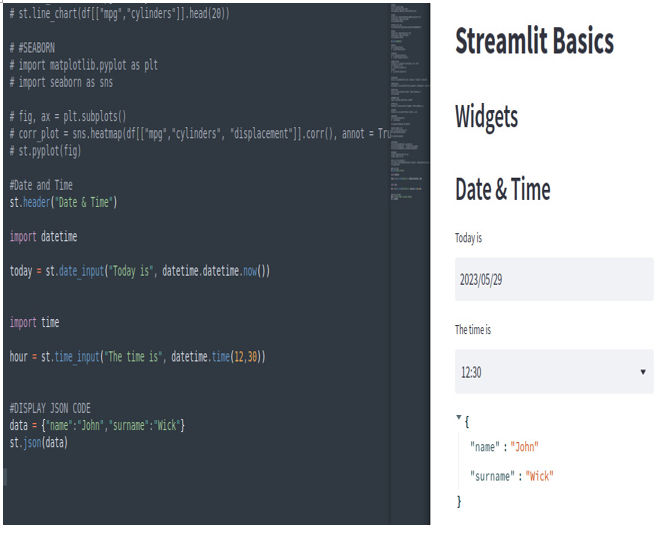
Figure 3.36: The st.json widget
If we click on the arrow, we can close/minimize the JSON.
Displaying code is also very easy – we simply use st.code while specifying the programming language as an argument (for Python, this is not necessary since it is the default). Here’s an example:
st.code(“import pandas as pd”)
We’ll see the following output:
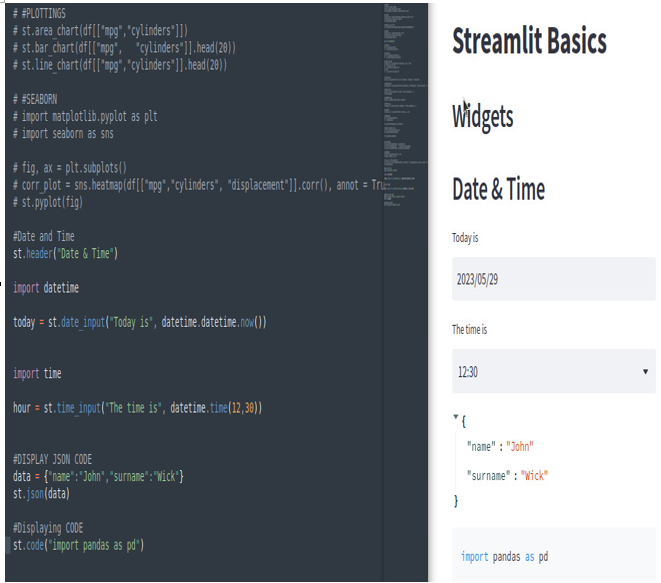
Figure 3.37: The st.code widget for Python
In the case of Julia, we must specify the programming language, so we can write the following:
julia_code = “””
function doit(num::int)
println(num)
end
“””
st.code(julia_code, language=’julia’)
This is the result:
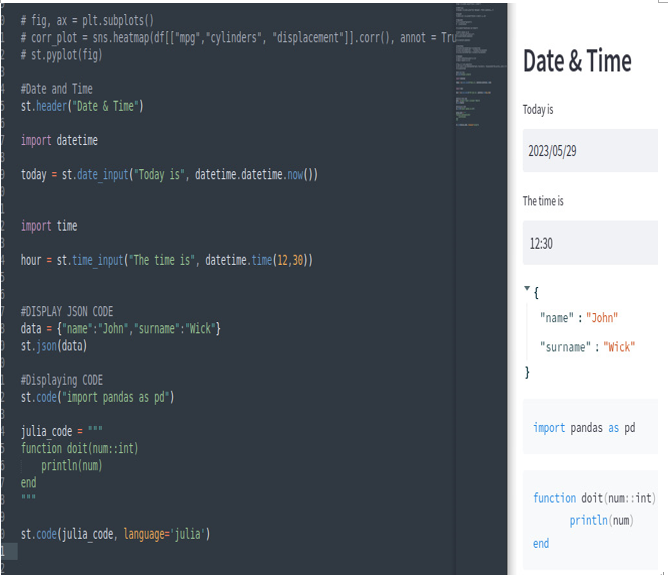
Figure 3.38: The st.code widget for Julia
We can use also progress bars and spinners as standard widgets. Let’s see how they work.
For example, to create a progress bar that goes from 0 to 100, increasing its value by 1 every 0.1 seconds, we can write the following:
import time
my_bar = st.progress(0)
for value in range(100):
time.sleep(0.1)
my_bar.progress(value+1)
The result is very nice. For a faster bar, we can use time.sleep(0.01), while for a slower bar, we can use time.sleep(1). This is the result:

Figure 3.39: The st.progress widget
The spinner works more or less in the same way as the progress bar, so we can write the following:
import time
with st.spinner(“Please wait…”):
time.sleep(10)
st.success(“Done!”)
Very easily, we can set a starting message of wait for 10 seconds, like so:
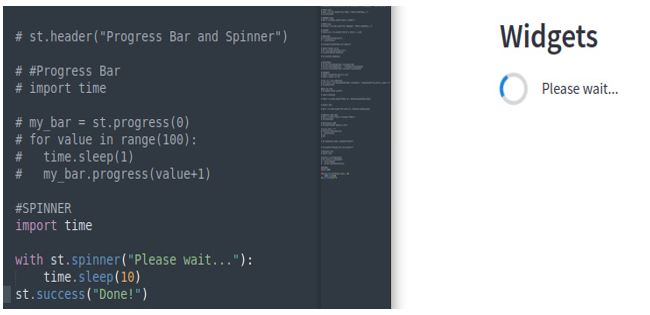
Figure 3.40: The st.spinner widget during the waiting time
Finally, we can print Done! in green (success), like so:
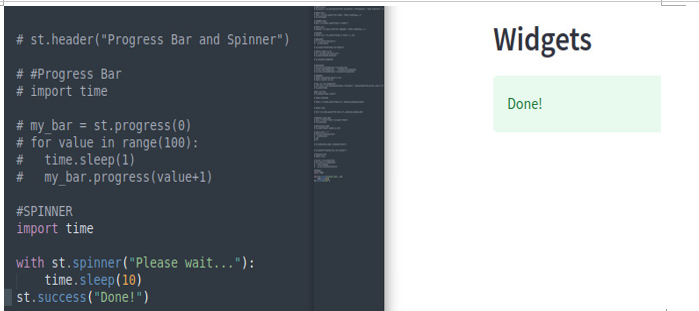
Figure 3.41: The st.spinner widget after completion
Very nice!
Now that we’ve covered progress bars and spinners, we can close this quick introduction to Streamlit’s main functions and widgets, which acted as a crash course for full immersion.
Summary
In this chapter, we explored Streamlit’s main out-of-the-box features and widgets. We started by creating an empty Python file and launching Streamlit, where we saw how to manage its web interface using the “rerun” feature and leverage its real-time updating functionality.
Then, we learned how to deal with text in various ways, in terms of size, colors, and format. We also explored multimedia widgets, such as images, audio, and video.
A lot of elements, such as buttons, checkboxes, radio buttons, and others, were also explained and utilized.
Many different kinds of inputs are supported natively – it’s very easy to input text, numbers, dates, time, and so on. Widgets such as text areas or sliders are also ready to be used out of the box.
As we saw, data plots are extremely easy to create – we can use DataFrames and plot bar, line, or area charts with one line of code. Even heatmaps are a clean and neat option.
Even formatting text in a programming language style, such as Python or Julia, is just a matter of a couple of lines of code.
Finally, we saw that if we need to wait for some calculation or activity in charge of our application, we can use progress bars or spinners to create a nice “wait please…” effect on the screen.
All these components are the basic elements that make up the toolbox that we are going to use, starting from the next chapter, to build up our real web applications. By doing so, we’ll extend our knowledge of Streamlit’s more advanced features!
